Our deck was needing some attention and with the warm weather approaching I decided to do a quick refresh! Scroll down to see the BEFORE photos to see what state it was in, eek!
Below I included the step by step of how I painted the old outdoor light fixture’s on the house so they also looked refreshed, as well as the shopping links for all the furniture your convenience!!
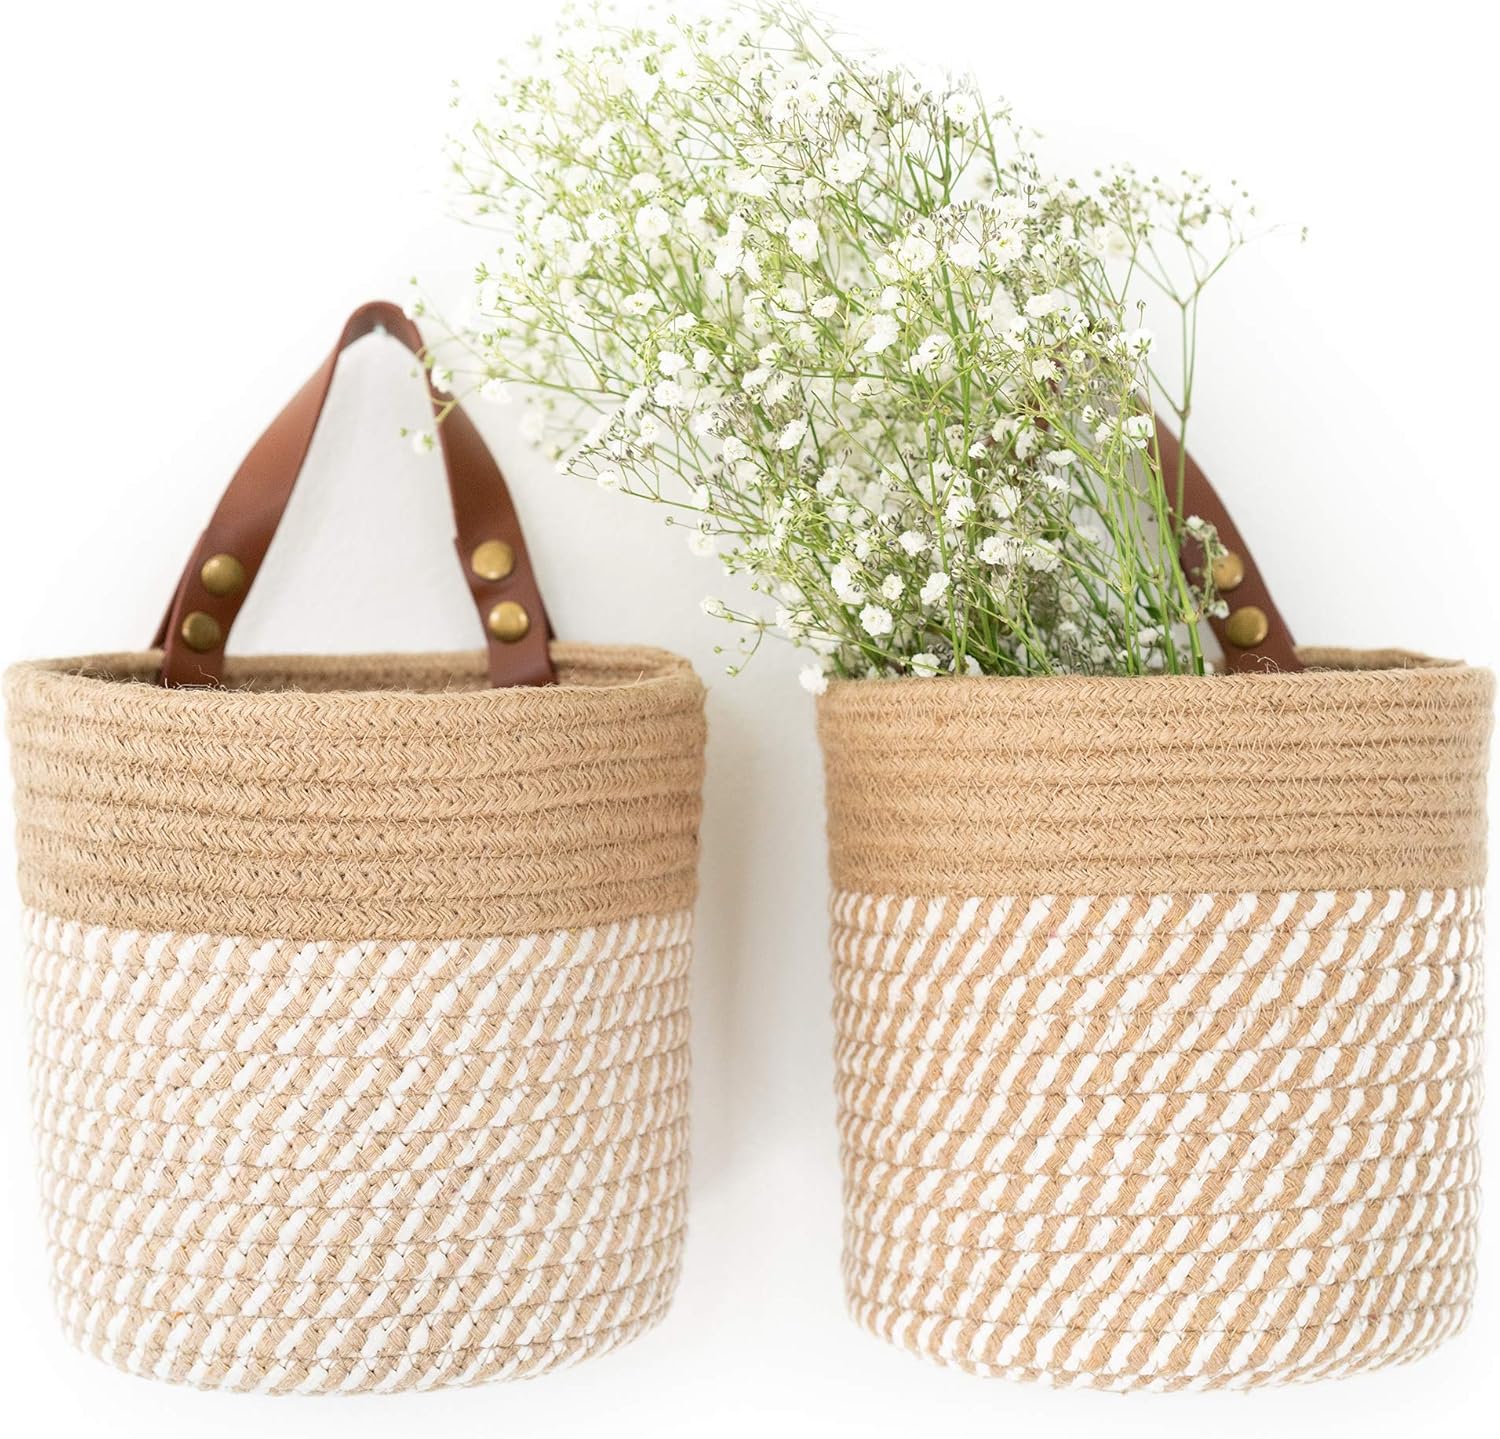
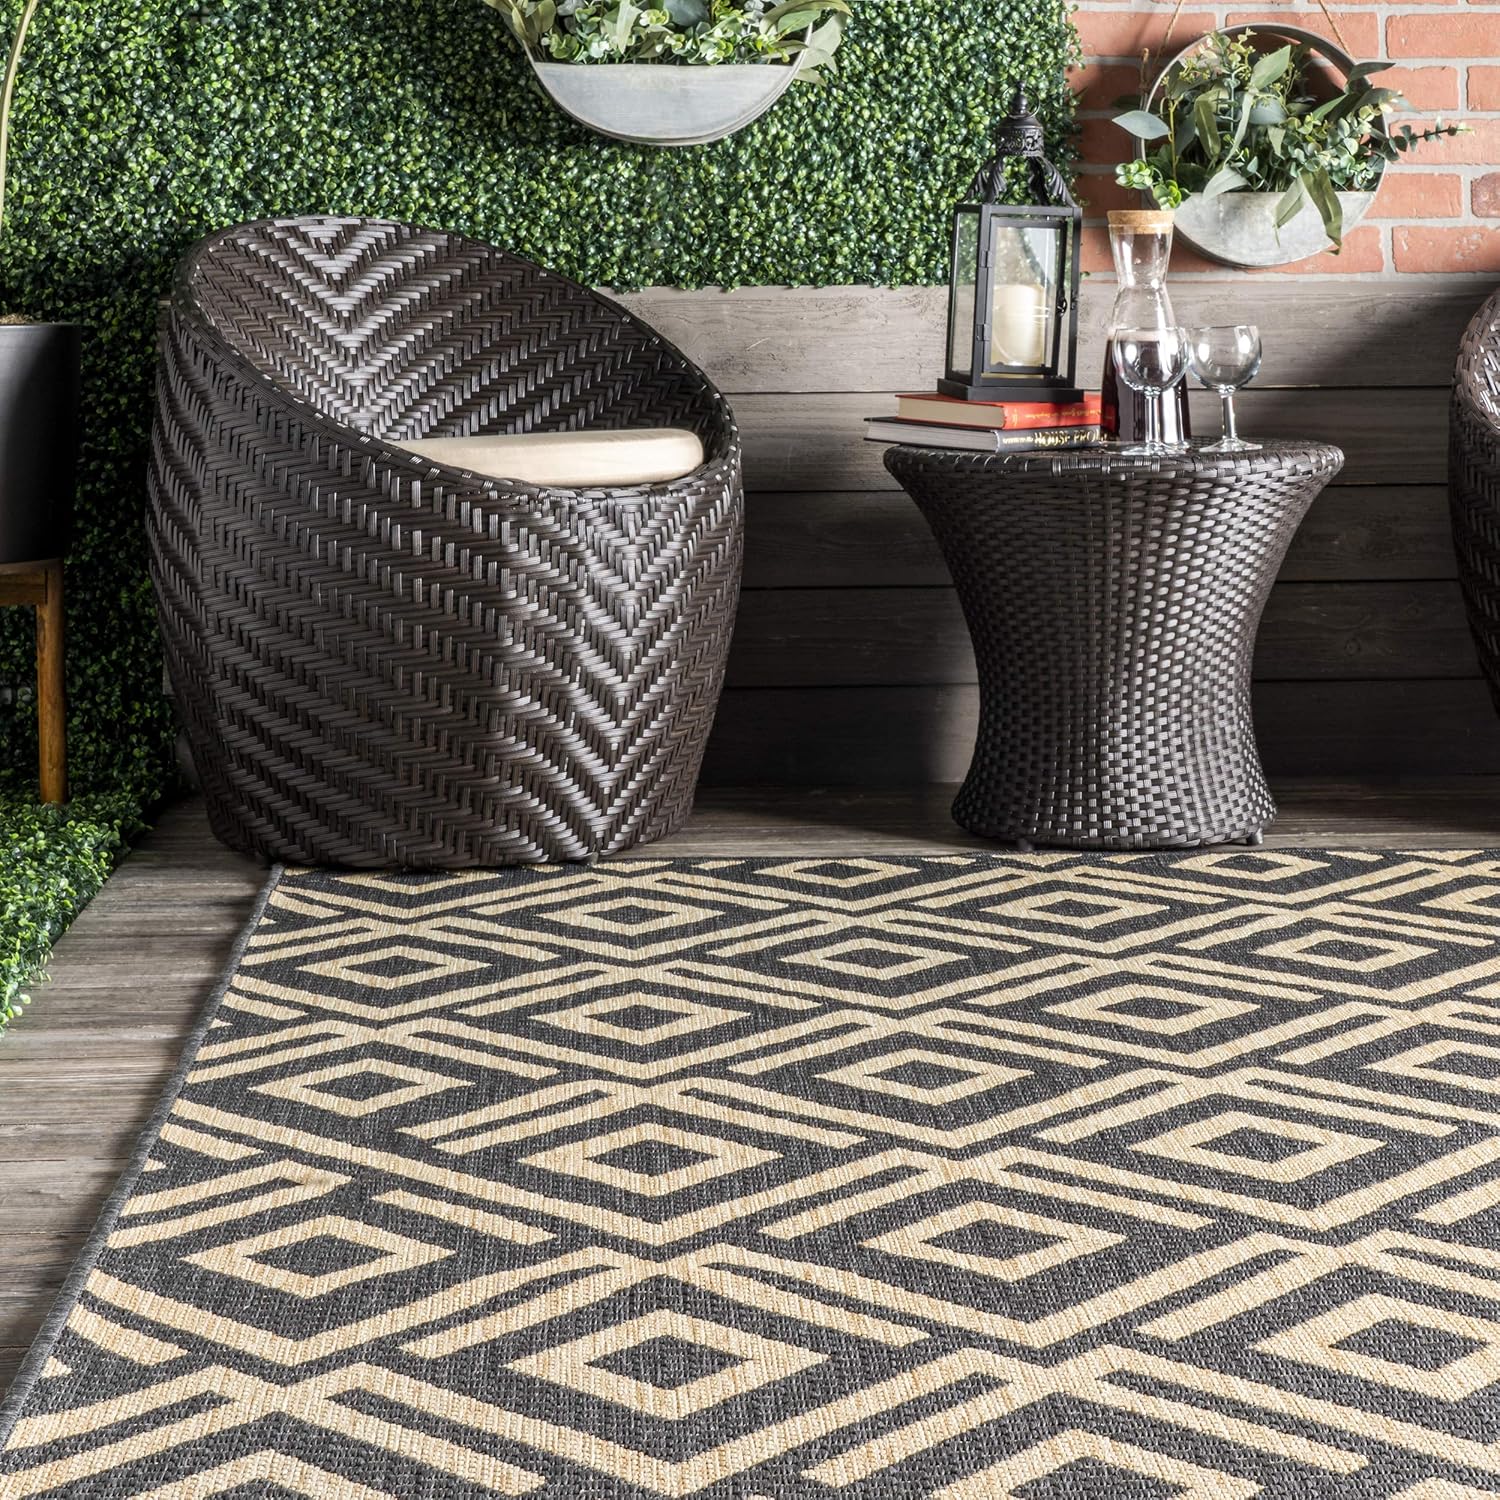
SHOP

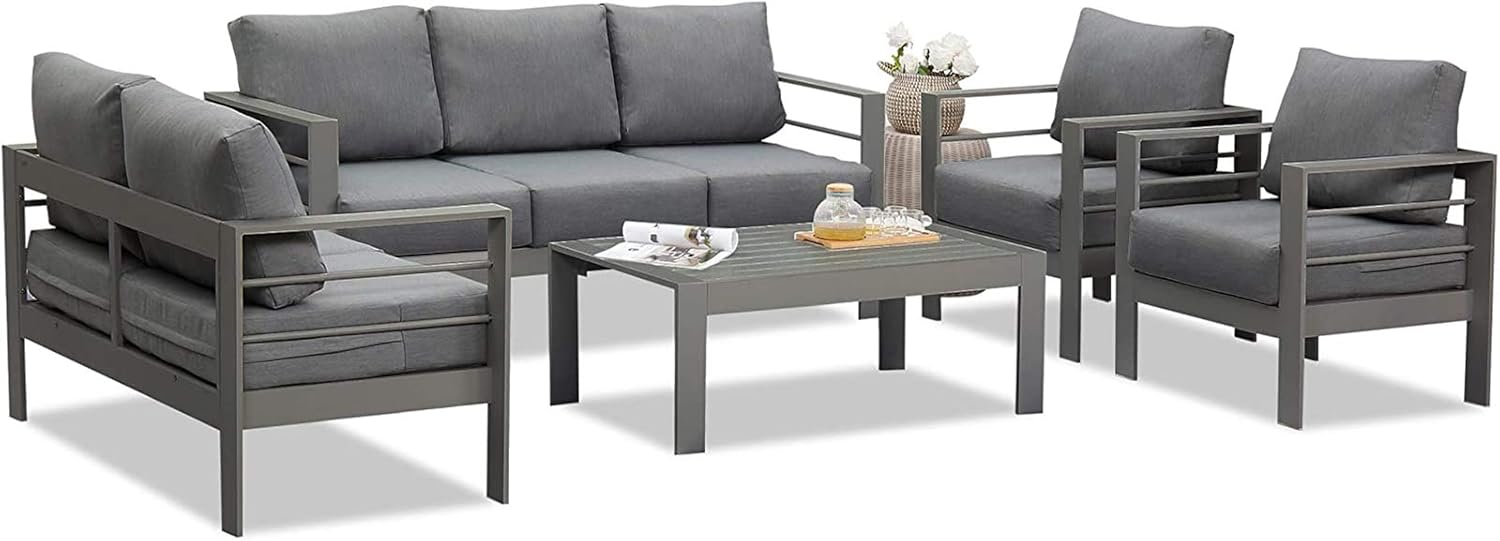
DESIGN BOARD OPTION 1
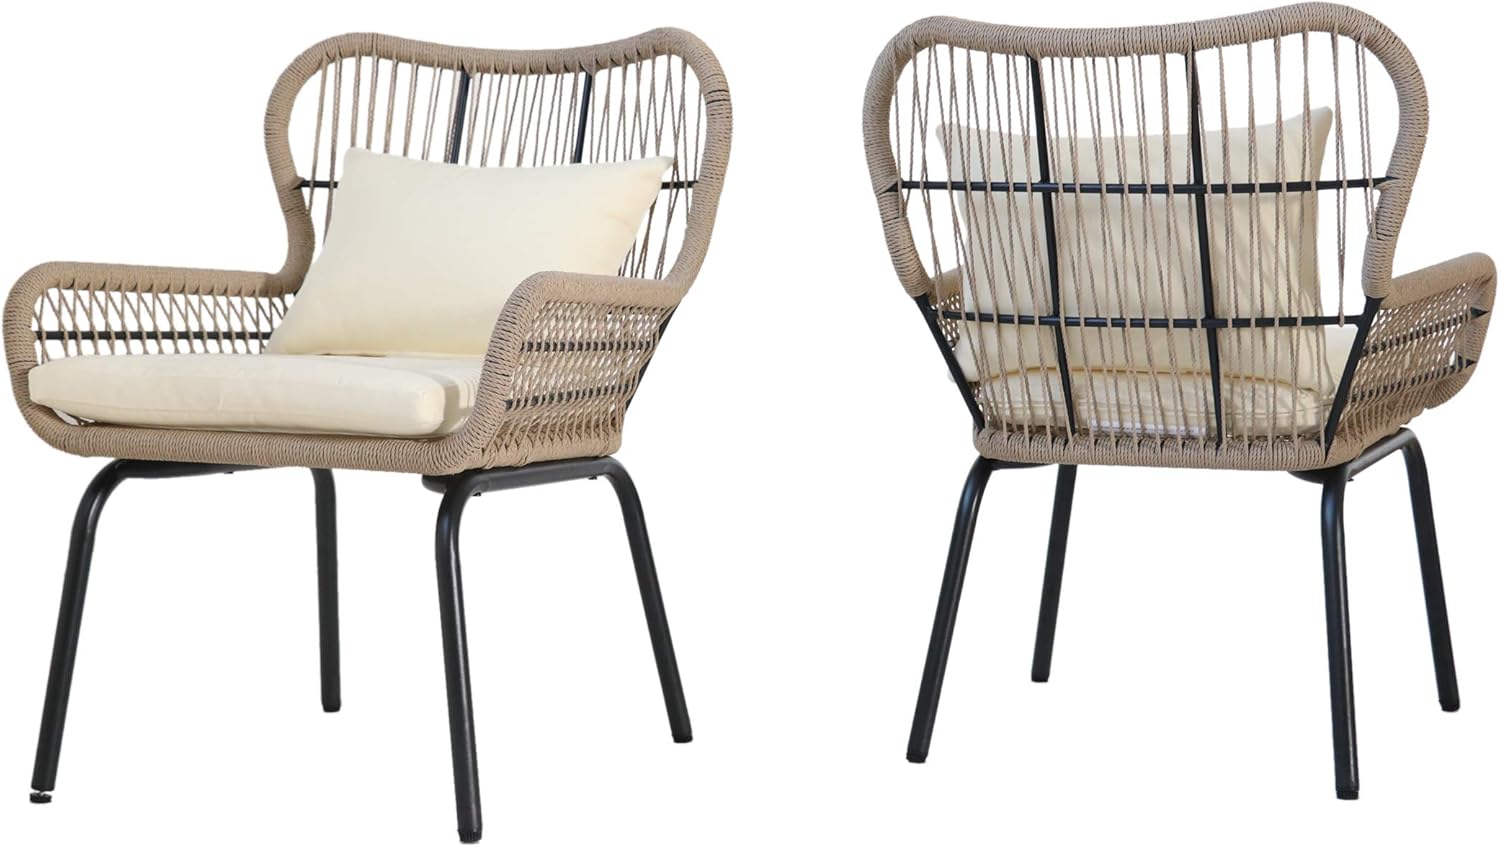
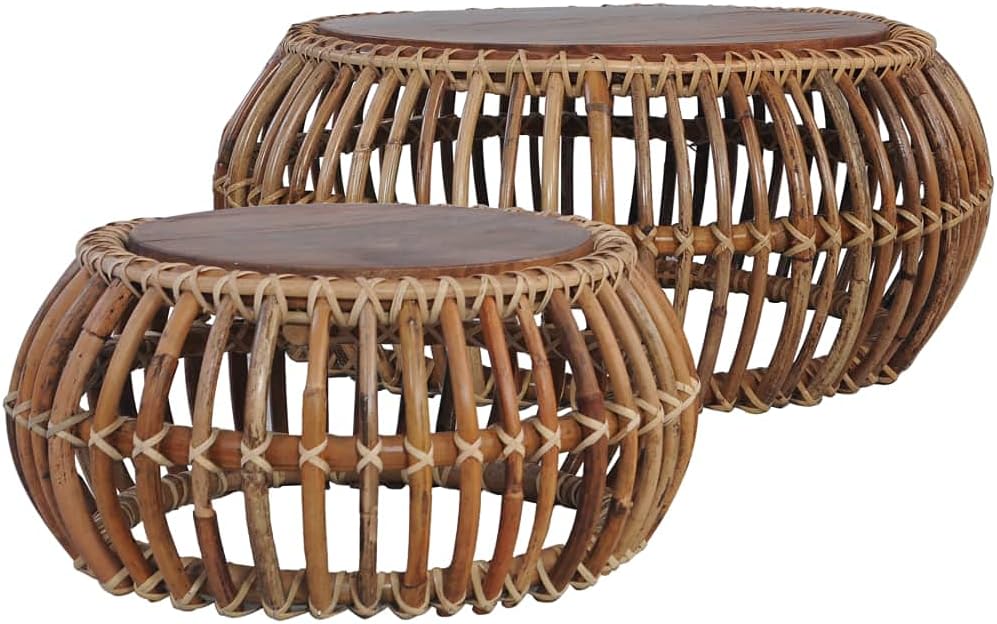
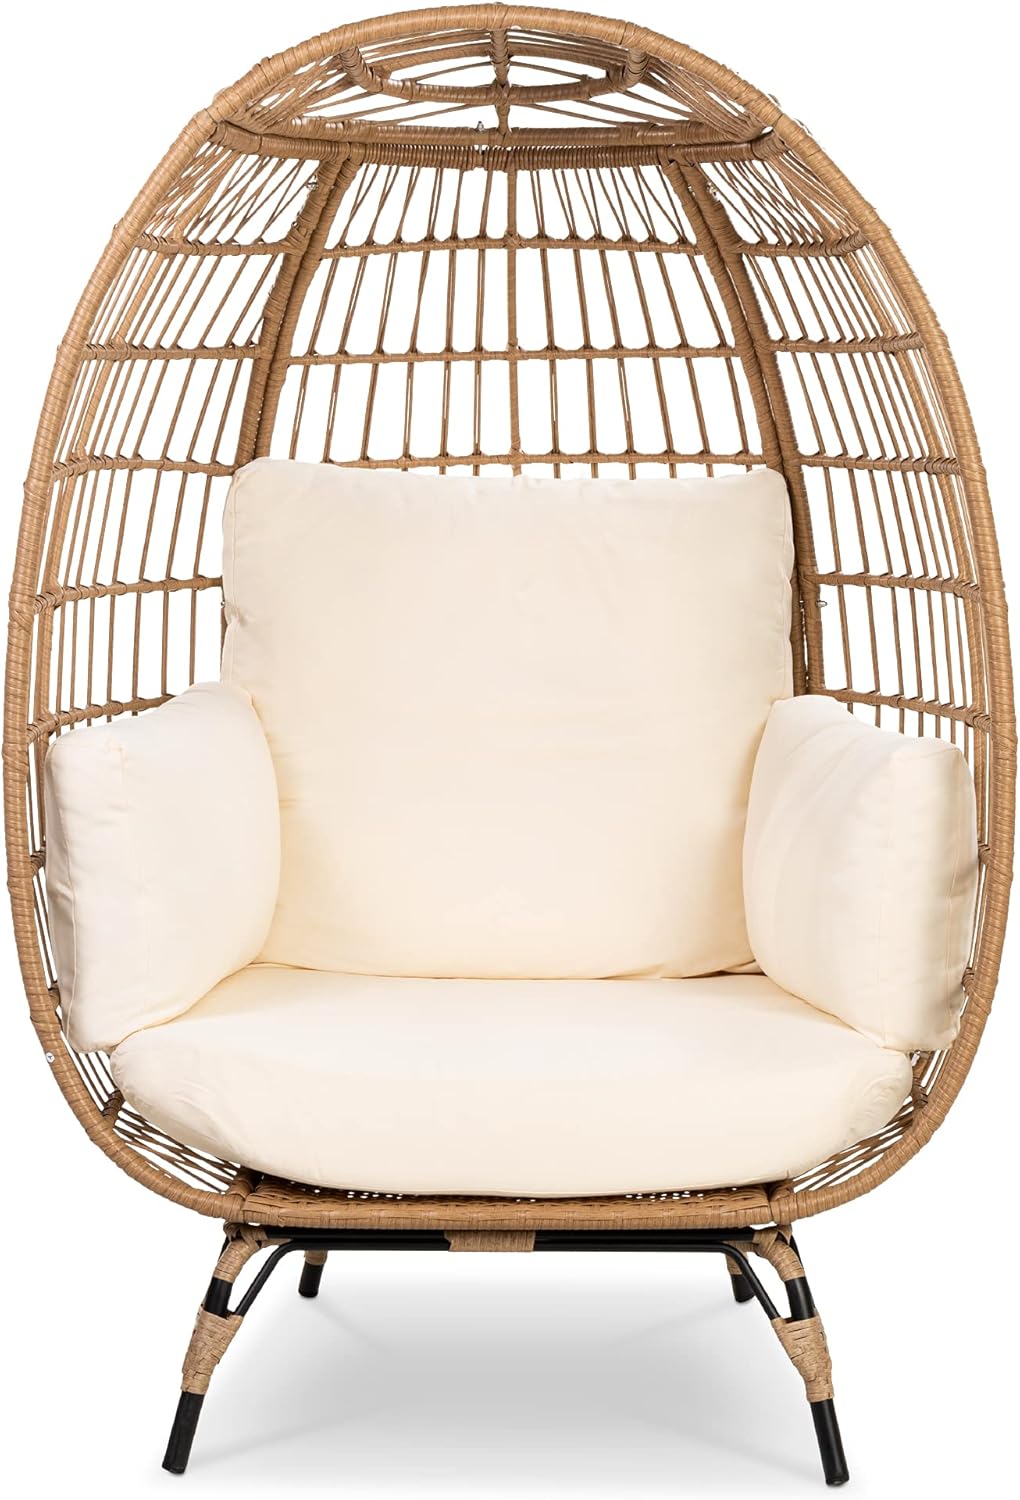
I began by putting together a design board and went with Design Board Option 2 since I already had the grey wicker chairs. I also had the rattan coffee table which I got at Home Goods, but I found a similar table that comes in a set of two for a great price(shown above)!
Design boards are really helpful especially if you already have a few items. Then you can visually put the new items with the ones you already

DESIGN BOARD OPTION 2

BEFORE PHOTOS


AFTER PHOTOS


LIGHT FIXTURE BEFORE


LIGHT FIXTURE aFTER

OUTDOOR SPACE REVEAL || SHOPPING

SHOP